Part 3: Posting to Your Website
This post covers creating new posts on your website. Remember that you can check where your website is displayed in the repository settings tab.
If you haven’t gone through the previous posts, Part 1 is here and Part 2 is here.
What This Post Covers
- Creating new posts
- Embedding a YouTube video on your site.
Step 1: Create a new markdown file in the _posts folder
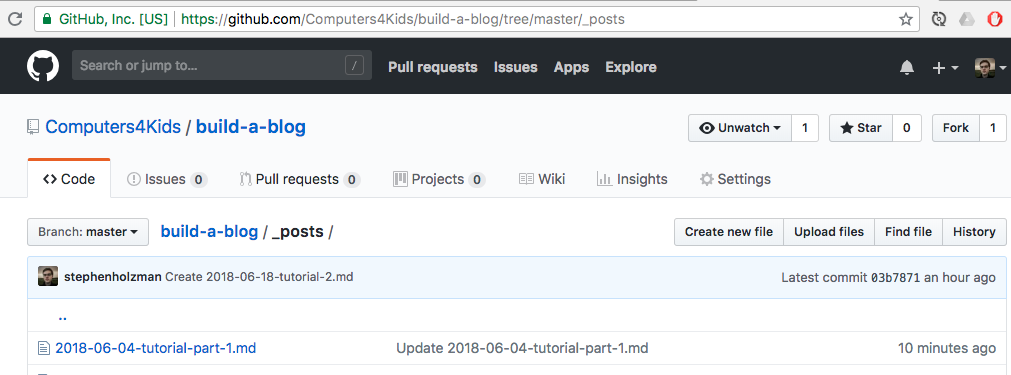
Notice that the names of the example posts follow the same format: a date followed by a description. If you want to create a new post, you have to create a new file in the _posts folder that matches this format. Navigate to the _posts folder, click the Create new file button, and give it a name like “2018-06-18-favorite-song.md”. Our first post is going to be about our favorite song.

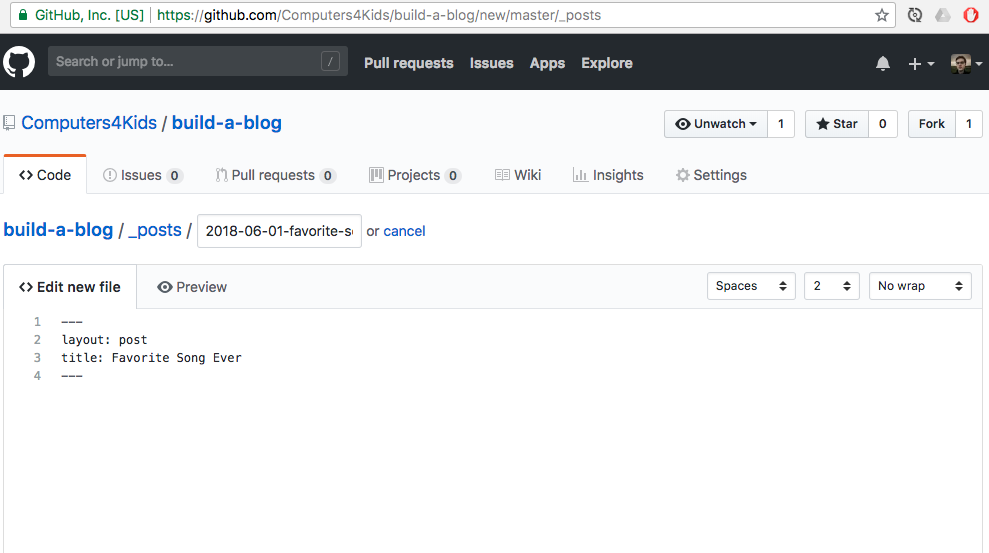
Step 2: Write the front matter section.
The front matter section is surrounded by triple dashes. You can fill this out manually or copy text from other posts. It should look like this when you’re done:

Step 3: Go find a YouTube video
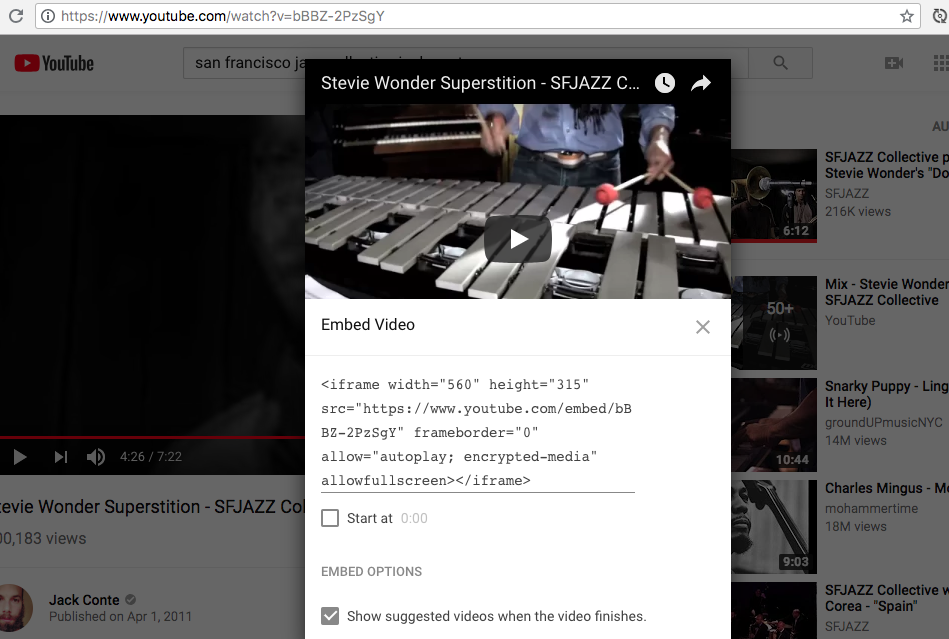
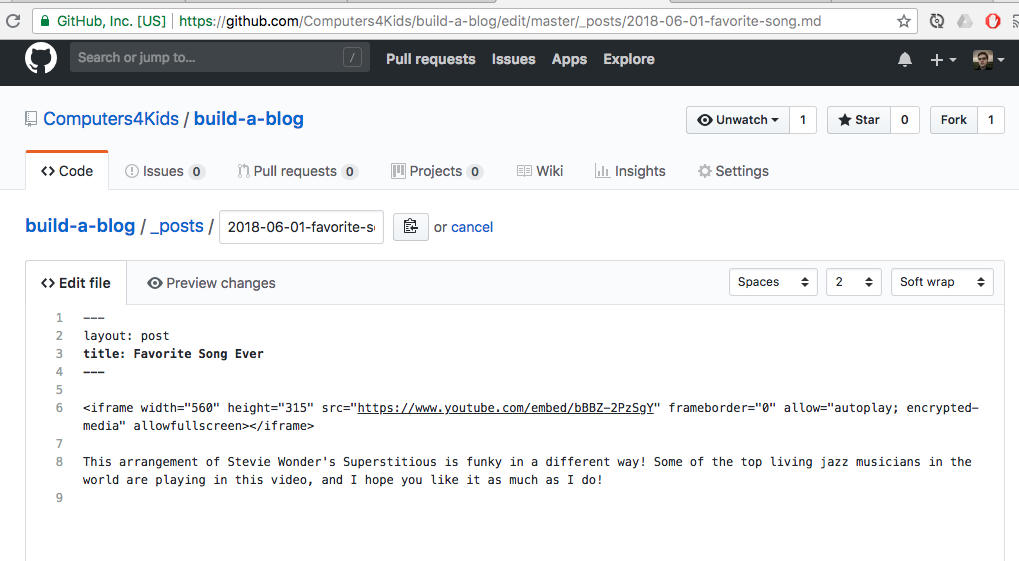
Pick a YouTube video and click the share button. Instead of just taking the link, we’re going choose the Embed option. Copy the little bits of HTML into your new file.

Step 4: Commit your new post
Once you have it just right, commit your post and check to see if it works! The cool thing about markdown is you can include raw HTML too! We’ll continue experimenting with posts in the next part.
