Part 2: Editing Your Own Website
Part 1 of this series covered setting up a default website through GitHub. This post covers editing files on GitHub, one way to make the website truly your own. Remember that you can check where your website is displayed in the repository settings tab.
What This Post Covers
- Replacing the default text on a few pages
- Editing a file on GitHub
- Saving edits by making a commit to your repository.
- Uploading a picture
Step 1: Edit the _config.yml file
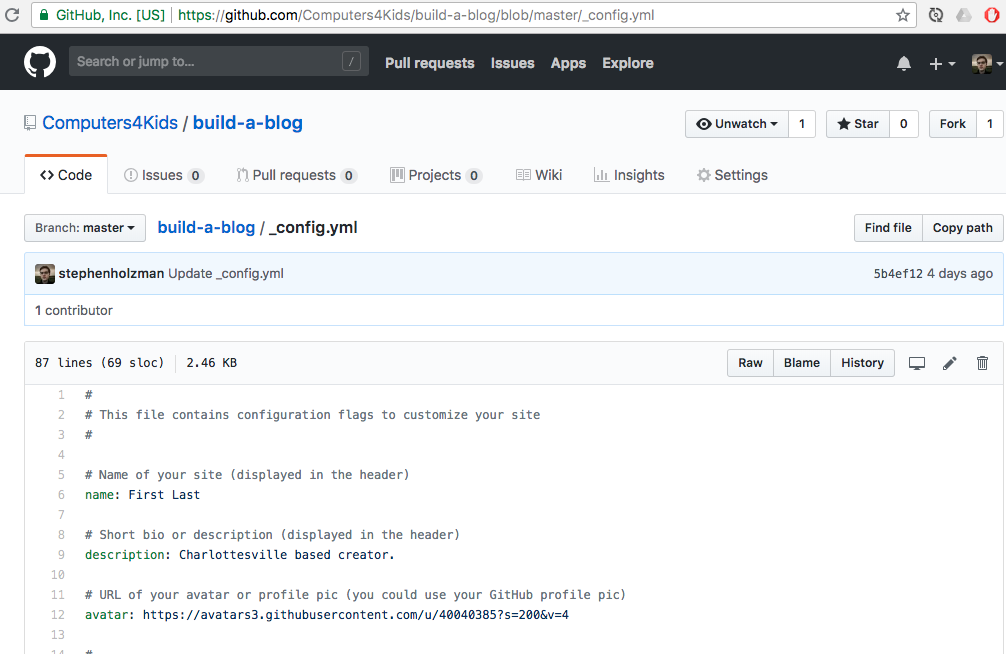
The _config.yml file partly tells GitHub how to build your site (more on that later) and partly contains information displayed. We want to replace the default title of our site.
Click the _config.yml file to go to that file’s information page. You can start editing by clicking the pencil icon, just above the file’s contents to the right.

Change the text next to name from “First Last” to what you want your site title to be. This can be anything, not just your personal name!
Step 2: Save your edit.
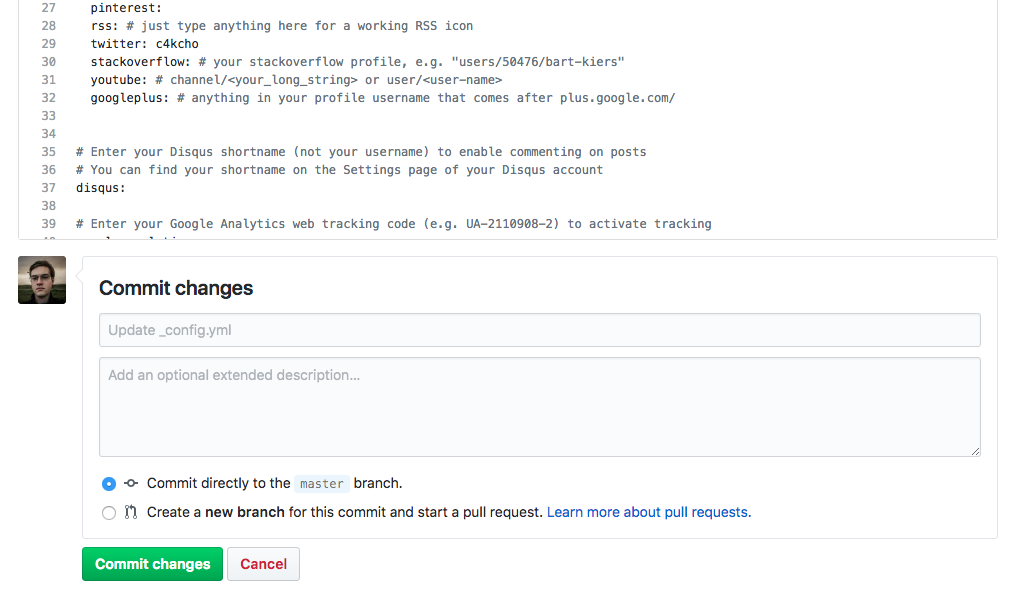
Commit is a term that effectively means to save a change. Commiting a change to a repository helps keep a record of the many different versions your site will go through.
Scroll down to the bottom of a file when you are done editing to the commit options.

You can provide a description of the changes you’ve made, or accept the defaults. Click the green button to commit. It may take a minute for the site to update.
Step 3: Upload an image
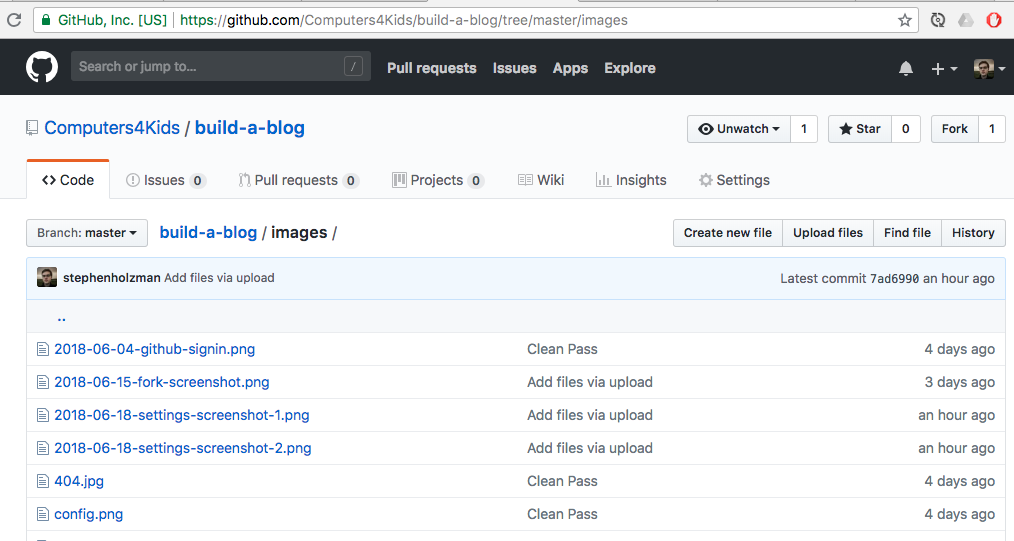
Navigate to the images folder, which already contains some files. Click the upload files button and choose an image on your computer to upload, then click the commit button just like edits. Make sure you have permission to use anything you put on your website! You’re responsible for respecting the work others have done.

Underneath the hood, images displayed on a page are always linked to a file. Look at the URL for the above screenshot. Notice how it ends with a familiar pattern: /images/filename. Try to find the address for the image you just uploaded.
Step 4: Fill out other parts of the _config.yml file
There are many other parts of the config file you may want to change. Perhaps your own social media? A custom avatar? Anything as long as you get some practice editing files!
Step 5: Fill out the about.md file
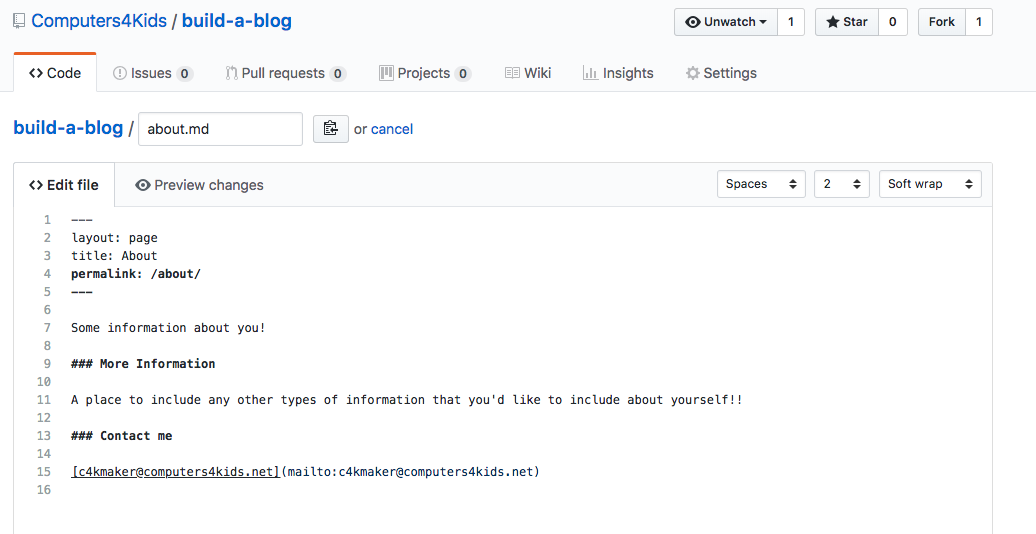
This file controls everything on your about page. The default text is pretty lame, so let’s replace it!

The markdown files begin with a section called front matter that describes how to process the file. For now, leave it as is and experiment with edits to what comes below that.